When we talk about any application, the database is an important aspect to be considered. Heroku provides it own database add-on that allows to scale large set of data. It is a managed SQL Database service. We can use Postgres with applications in any languages supported by Heroku. Heroku Postgres is more reliable, scalable and easy to use for those who have Oracle or SQL knowledge. With Postgres your focus will be more on SQL queries rather than setting up database or configurations.
Provisioning Postgres Database
So before you start using the database you need to provision the database for your Heroku application.
Heroku Dashboard – > Click on the app->Select Resource tab->Enter Heroku Postgres in add-on
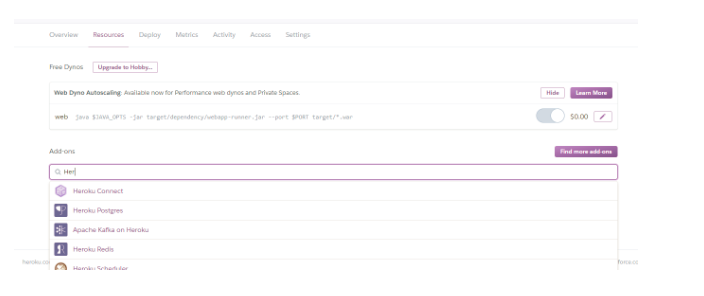
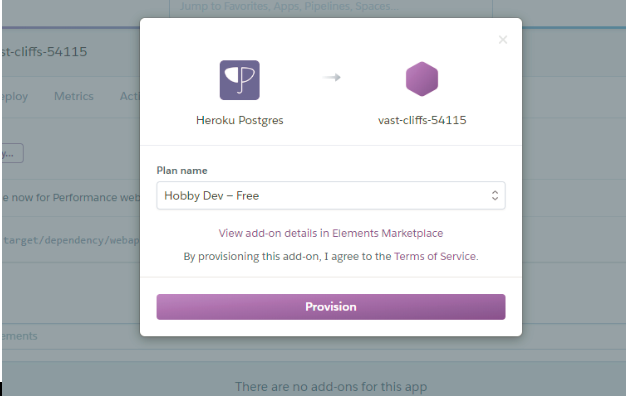
Next click on Provision. Now you will notice that the database has been provisioned for your heroku application.
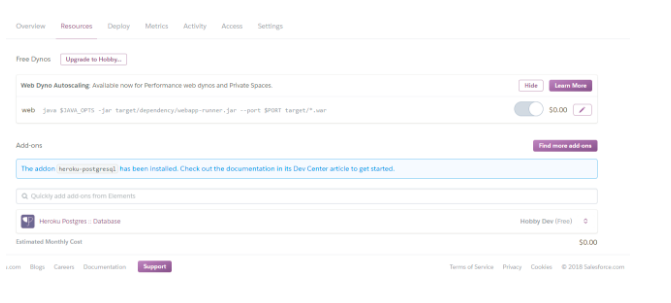
You will notice that there are a wide variety of database plans that can be provisioned.
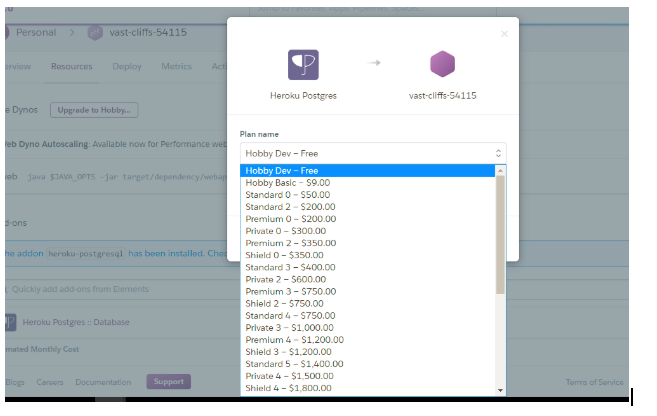
Heroku Plan tiers
The Heroku Postgres plans are divided into 5 high level tiers. The main difference between all these tiers is based on the tolerated monthly downtime.

Hobby Tier – It includes hobby- dev and hobby-basic plan. For hobby dev there is a row limit of 10,000 rows and in hobby basic plan has a limit of 10,000,000.
- It allows maximum of 20 connections.
- There is no-in memory cache – This will limit performance as it is difficult to access data on low latency storage.
- Fork/follow feature used to create replica database is not supported.
- No expensive query support.
Standard Tier – This is mainly designed for production applications.
- No row limitations.
- Fork and follow support.
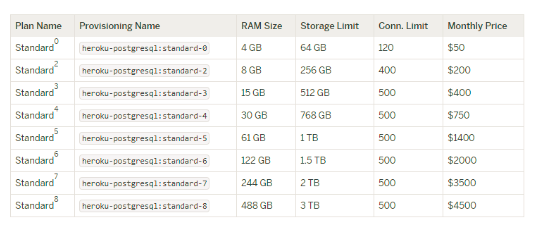
Premium Tier:
- Designed for production application.
- Increasing amount of in memory cache.
- Fork and follow support.
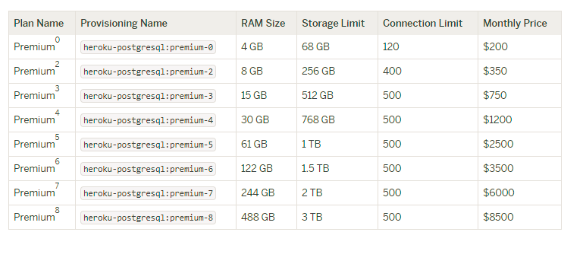
Features in Postgres Database
PgAdmin
pgAdmin is an administrative tool used for connecting and working with PostgreSQL.
Download pgAdmin tool from https://www.pgadmin.org/download/
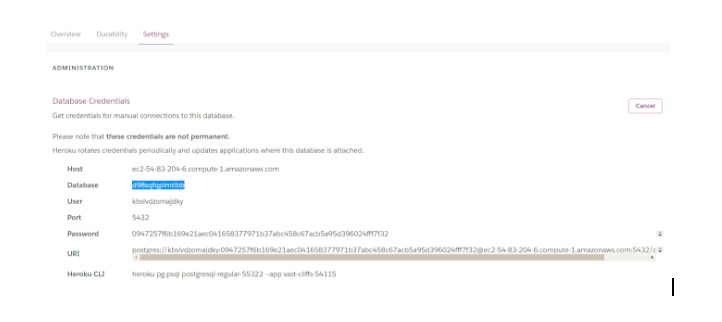
Click on the Postgres database to view the credential details.
Next click on setting tab to view database related information. This will contain your Database credentials to be used in next steps.
Click on Add new server in PgAdmin4
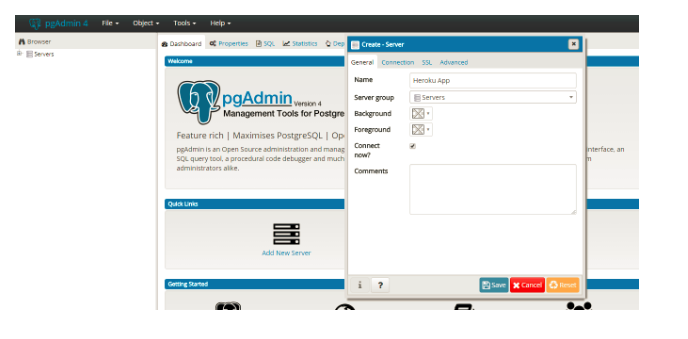
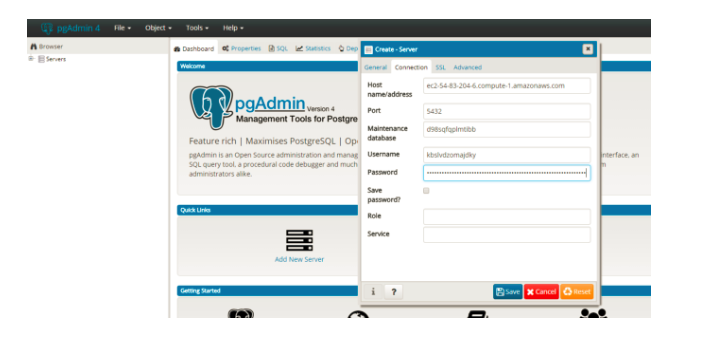
Enter details same as your database credentials.
Create a new table in the database as follows
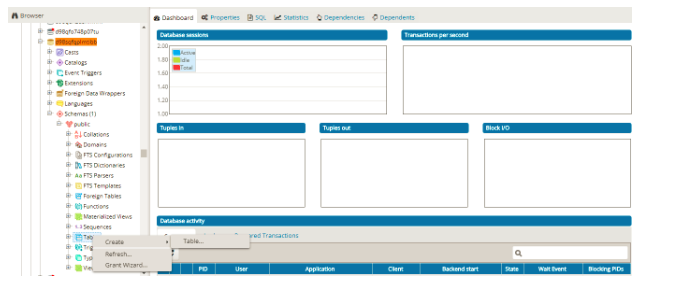
Let us create a table with the name Account
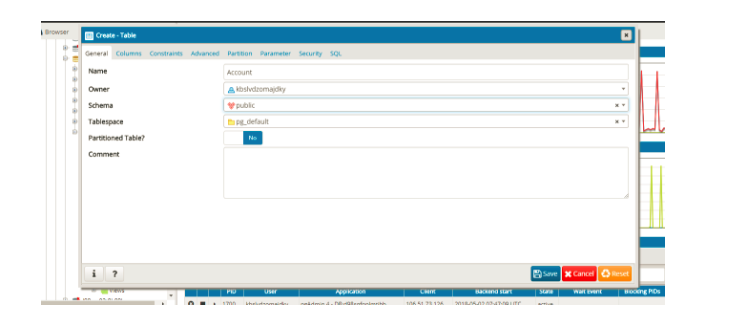
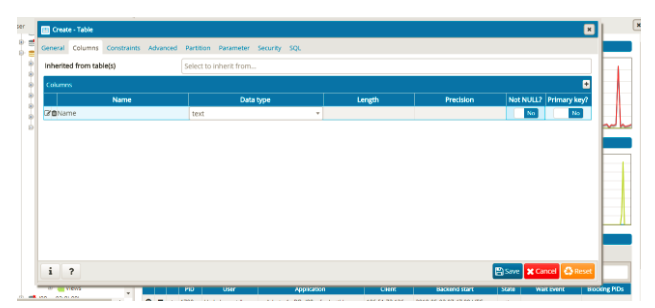
Create on column Name in the table of type text.
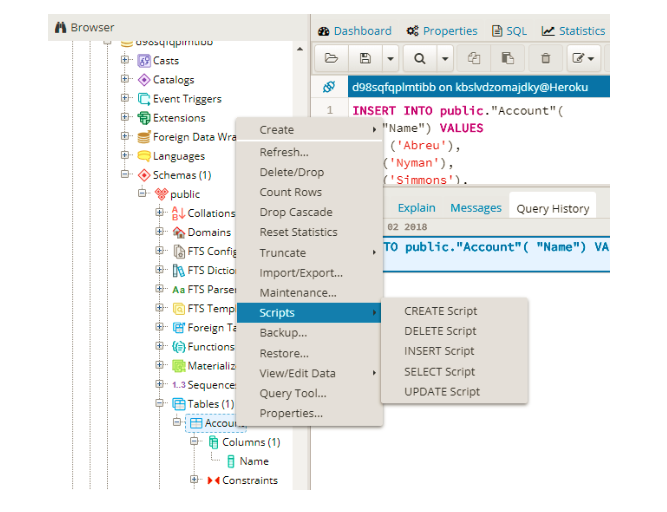
These tables can also be created using SQL by clicking on SQL tab.
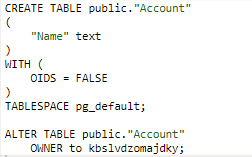
Insert data using INSERT script
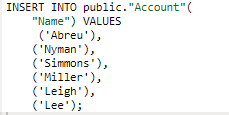
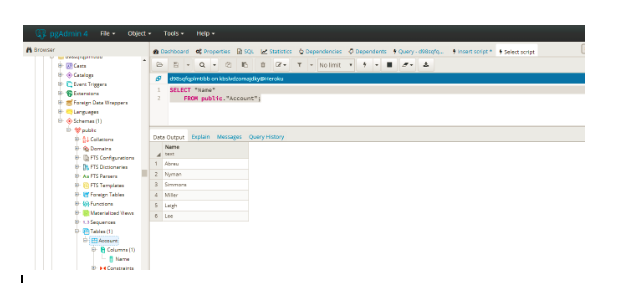
Query for the inserted data using Select script.
DataClips
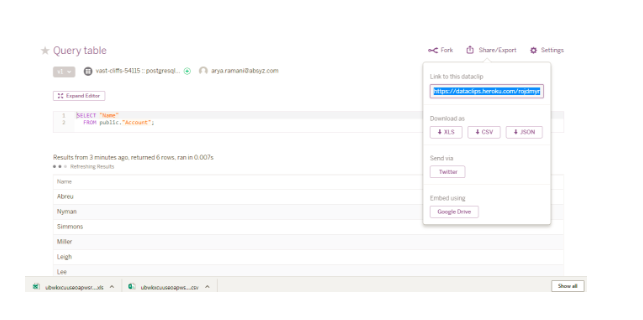
Dataclips will allow to share the results of SQL queries. You can easily download in CSV, JSON or XML format.

You can select the format in which u want to export the data retrieved.
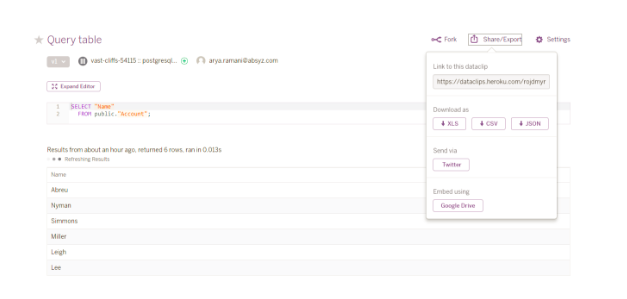
Examples of JSON format:
{“title”:”Query table”,”fields”:[“Name”],”types”:[25],”type_names”:[“text”],”values”:[[“Abreu”],[“Nyman”],[“Simmons”],[“Miller”],[“Leigh”],[“Lee”]]}
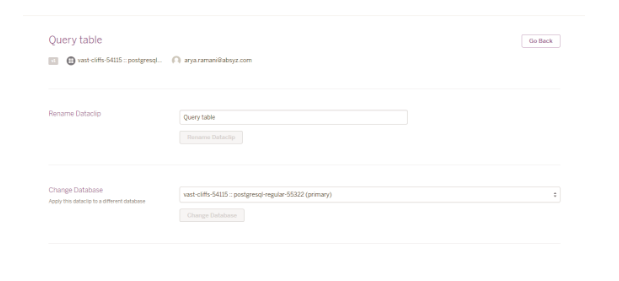
You can also apply the dataclip to a different database.
You can access the dataclip generated using the URL mentioned.
Dataclip will return at the most 1,00,000 rows. If any query takes more than 10 minutes it will be cancelled.
Fork a database
Forking a database creates a snapshot of the existing database which may not be updated with any changes and are writable. Basically we are just creating a copy of the database which will not affect your original database changes. Database fork is not supported in Hobby tier.
Heroku Postgres using CLI
Have a quick look at the add ons provisioned for you.
Heroku addons– Provides a list of addons provisioned for the user
heroku pg:psql – Establish a connection with database.

Connecting in JAVA Application
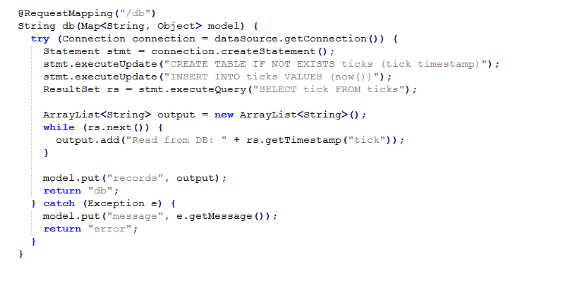
The POM.XML file would be as below

You can connect to Postgres database and Salesforce using Heroku Connect or Salesforce Connect. This will be covered in our coming blogs.
So now working and managing data on your Heroku application is much simpler using Heroku Postgres database.


