Hi All,
This Blog gives a small demonstration on how the process happens in integration of Shopify app with Salesforce. We can use SOAP API or REST API based on your requirement.
Here I am using REST API for integration.
For integration with Shopify app we cannot use Oauth authentication. As shopify does not allow Oath as an authentication mechanism hence we can not use Oauth here.
Shopify app is mainly used for selling the products it is similar like Amazon. To sell the products in shopify we need to have a store in shopify. Integration between salesforce and shopify will be possible if we have a store in shopify.
What is a store? Store is a place where we can sell our products exclusively. To create store in shopify visit this link https://www.shopify.in/online-store Here there are mainly two versions one is a free version which you can use for testing this functionality and the second one is a paid one.
Shopify store image is displayed below.
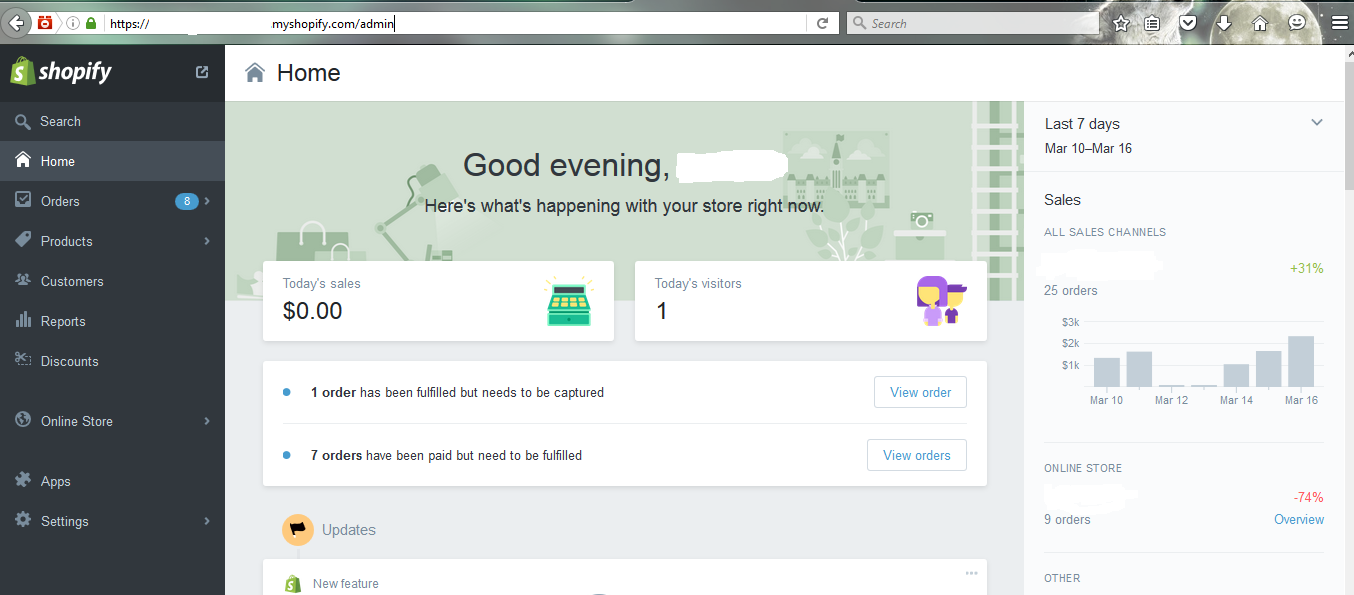
To fetch data from shopify app we need to have an Access token and Password. To Generate an Access Token and Password we need to create a private app in shopify to access our store data.
Creating Private App:
Click on the tab “Apps”
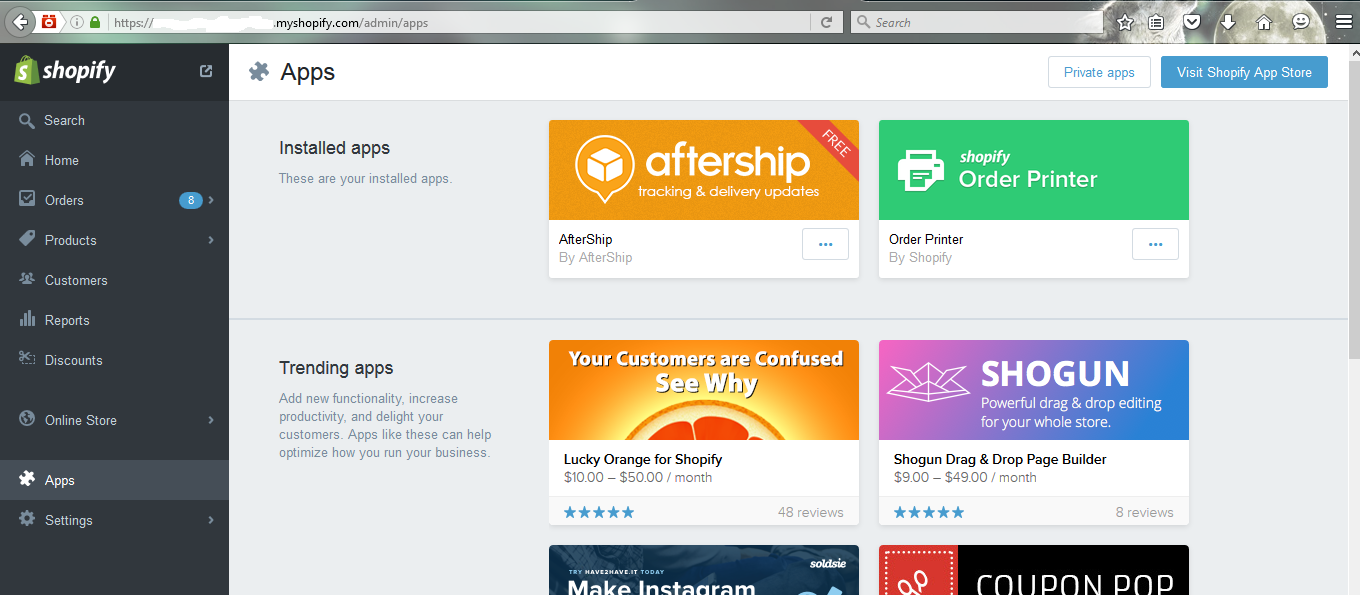
Click on Private Apps button on the top right corner then private app page will be seen.
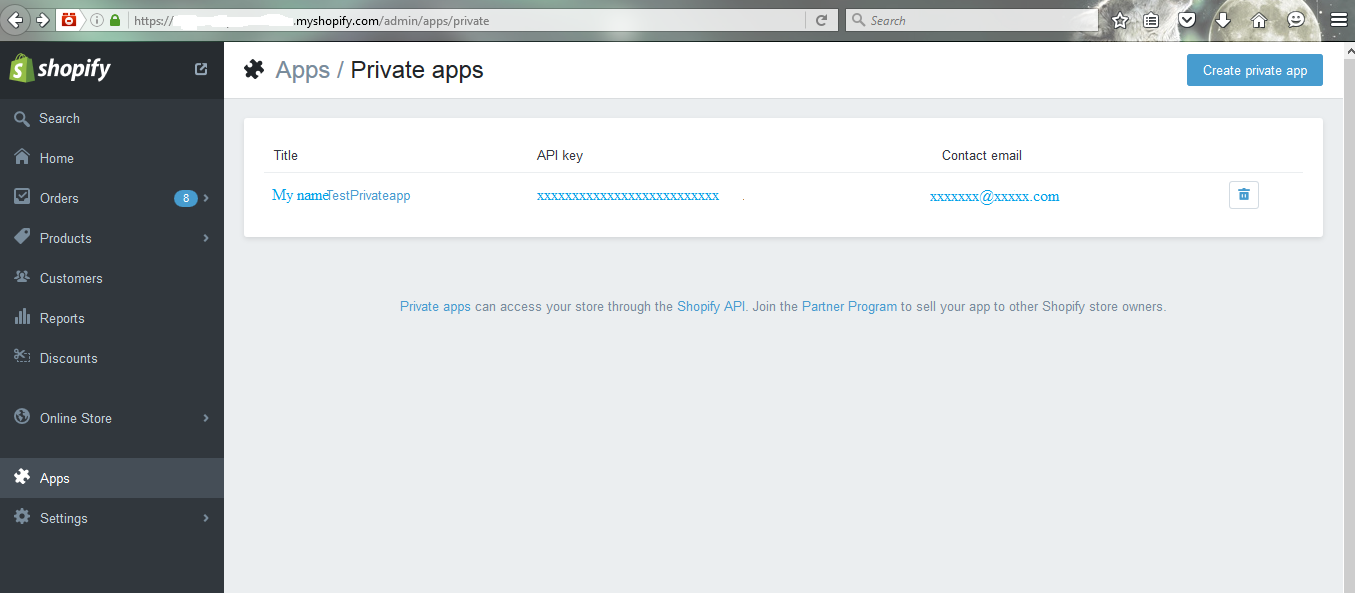
Click on ‘Create Private App’ button and the private app creation page will be opened.

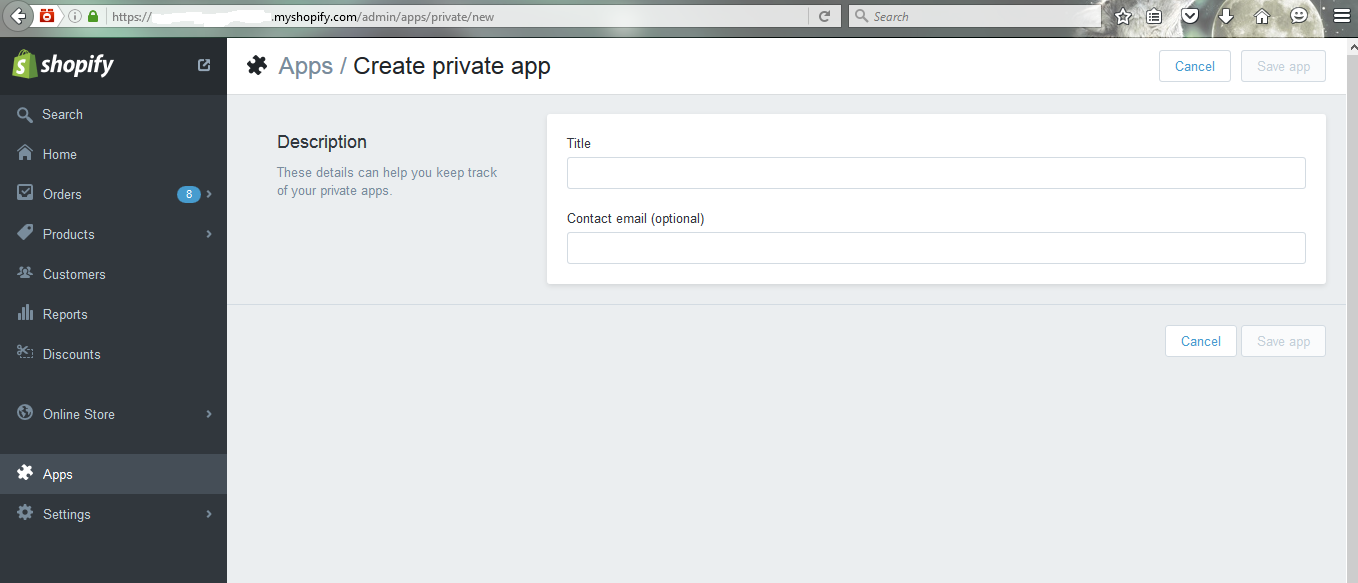
Fill the Title field with any name the title will be your app name and email is an optional field on filling the details click on Save app. Then private app detail page is opened.
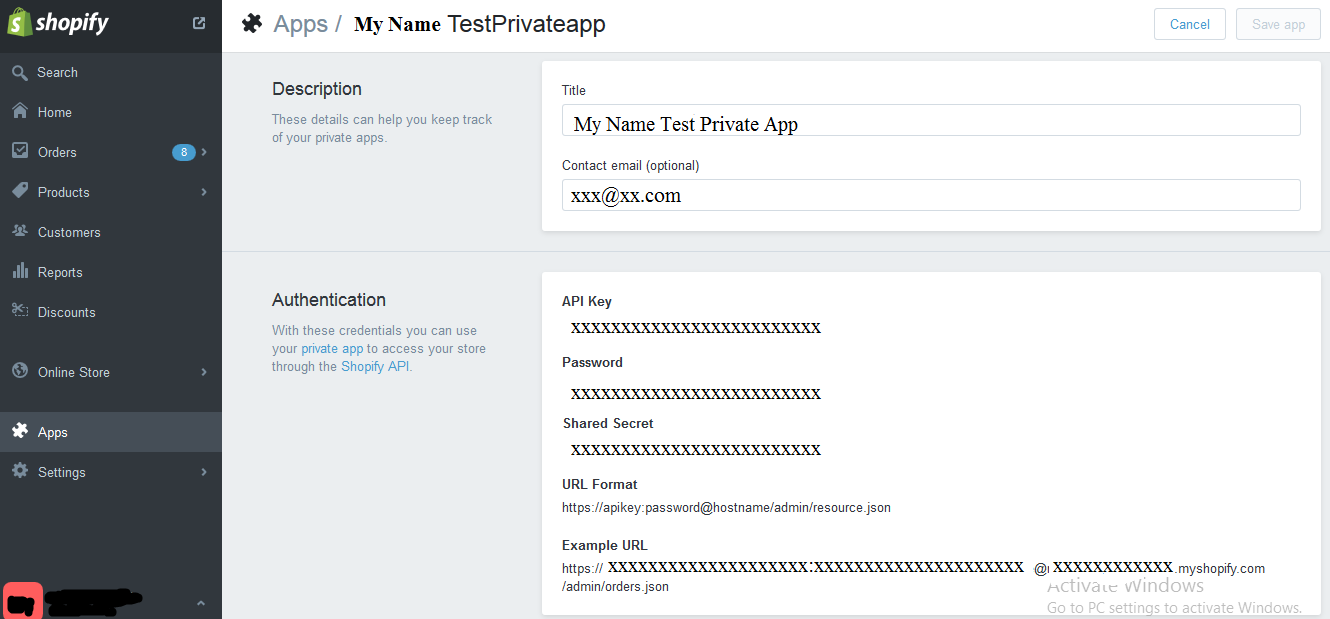
On the above image you can see API Key and Password. Example URL in the above image is used in HTTP requests to fetch the data from the shopify app.
The Example URL format: https://apikey:password@hostname/admin/data.json
Place your shopify store URL in “Remote site settings” in Salesforce.
Go to salesforce and click on setup-> Security Controls -> Remote Site Settings. Click on New Remote Site and give any name and paste the shopify store URL and click on Save.
To fetch the data from shopify app we need to create a certificate in salesforce org.
Why to create a salesforce certificate? Shopify will connect with the trusted sites and to make salesforce as trusted site we need to create a certificate.Certificate is added with a HTTP header and sent as a request. Then shopify accepts the certified requests and send us the data.
How to Create a Certificate:
Go to salesforce and click on setup-> Administrative setup section-> security Controls-> Certificate & Key Management->create self signed certificate. Fill the label and save it.
Here for integration with shopify app i used a VF page and controller. On clicking the button in VF page, the whole shopify data is fetched into the salesforce org by using HTTP requests. Here we are hitting shopify with the Example URL , API key and password. The method used in HTTP Requests is GET method. So it will fetch the data from the shopify and the certificate we created on the top is used as “req.setClientCertificateName(‘Shopify’)” .
Shopify in the above line is the certificate name which i created and you need to give the certificate name that you created.
The data that is fetched from HTTP requests are in JSON format. To convert JSON format to normal format we use json.deserialize() method. Once you receive the data from deserialize method we can map it to the salesforce objects. So once you complete the whole process, data from shopify will be fetched and you can use this data in salesforce.
The functionality may change a bit if we are integrating with other apps but the HTTP Callouts and the deserializing functionality will be same for integration with any third party application.
To know more about HTTP request visit this link: https://developer.salesforce.com/docs/atlas.en-us.apexcode.meta/apexcode/apex_classes_restful_http_httprequest.htm%23apex_System_HttpRequest_methods
This is the Visualforce page and Controller code:
[sourcecode language=”java”]
// Visualforce Page code
<apex:page controller=”shopifycontroller”>
<apex:form>
<apex:commandButton value=”getShopifyData” action=”{!retrieveGoogleAccessToken}”/>
</apex:form>
</apex:page>
//Controller Code
public class shopifycontroller {
public void retrieveGoogleAccessToken() {
//Local Variables
string ResponseBody;
//Making Callouts using HTTP Requests
Http h = new Http();
HttpRequest req = new HttpRequest();
//Provide URL of the Shopify store to HTTP requests
String url = ‘https://xxxxxx.myshopify.com’;
string endPointValue = url + ‘/admin/orders.json’;
req.setEndpoint(endPointValue);
//Adding certificate to HTTP Requests
req.setClientCertificateName(‘Shopify’);
//Providing Username and Password
String username = ‘xxxxxxxxxxxxxxxxxxxxxx’;
String password = ‘xxxxxxxxxxxxxxxxx’;
Blob headerValue = Blob.valueOf(username + ‘:’ + password);
String authorizationHeader = ‘Basic ‘ +
EncodingUtil.base64Encode(headerValue);
req.setHeader(‘Authorization’, authorizationHeader);
req.setHeader(‘content-type’, ‘application/json’);
//Use get Method as we are retrieving data from shopify
req.setMethod(‘GET’);
try {
HttpResponse res = h.send(req);
ResponseBody = res.getBody();
} catch (exception e) {
System.debug(‘exception’ + e);
}
// Parse entire JSON response.
JSONParser parser = JSON.createParser(ResponseBody);
while (parser.nextToken() != null) {
// Start at the array of Orders.
if (parser.getCurrentToken() == JSONToken.START_ARRAY) {
while (parser.nextToken() != null) {
// Advance to the start object marker to
// find next Order statement object.
if (parser.getCurrentToken() == JSONToken.START_OBJECT) {
Orders ord = (Orders) parser.readValueAs(Orders.class);
// For debugging purposes, serialize again to verify what was parsed.
String serializeData = JSON.serialize(ord);
// Skip the child start array and start object markers.
parser.skipChildren();
}
}
}
}
}
// Inner classes used for serialization by readValuesAs().
public class Orders {
public Double total_price;
public DateTime created_at;
public string email;
public Orders(Double price, DateTime dt, string em) {
total_price = price;
created_at = dt;
email = em;
}
}
}
[/sourcecode]
Please post your comments or inputs if you feel this blog is helpful.


