How often have we wondered if there was a way to work some of the magic of Master-Detail in lookups as well! In most cases, the feature of the roll-up summary without having to change lookup to master-detail would top the list of such wishes. Unfortunately, the feature is not available for lookups out-of-the-Box. But, here we are to the rescue.
In this blog, we’ll take you through a series of steps that would help in imitating the roll-up feature in case of lookups with the help of Lighting Flows.
Limitations:
The OOB Roll-up summary works when there is a master-detail relationship between the objects.
Use Case:
A custom object named Pricing under Opportunity has a lookup relationship. Amount fields need to be rolled up as a sum whenever pricing is created or updated under the opportunity. Clients want to have an alternative that sums up the amount. We can achieve this by creating two flows: one triggers when we create or update a record and the other when we delete a record.
Let us deep-dive into the step by step process –
Creating the flow when creating or updating the records:
- Log in to the org and go to flows. Click on Create New Flow.
- Choose Record Triggered Flow from the “All + Templates” tab.
- We need to select when we want this to get triggered:
- Choose “a record is created or edited” for Trigger the Flow.
- Choose “Action and its related records” to Optimize the Flow.
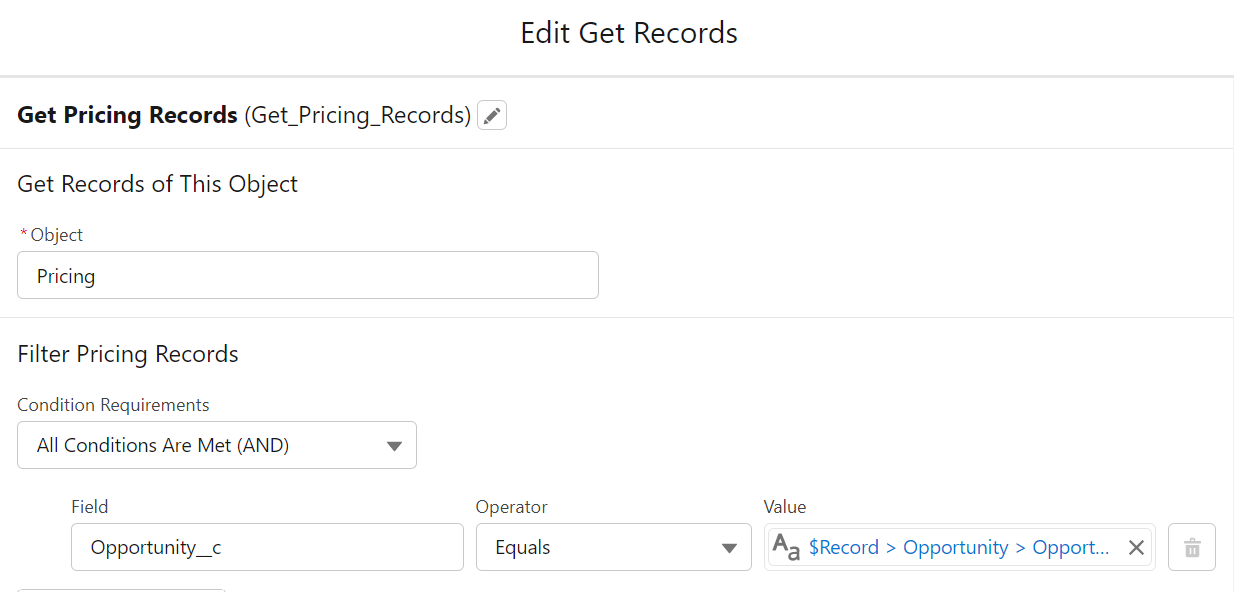
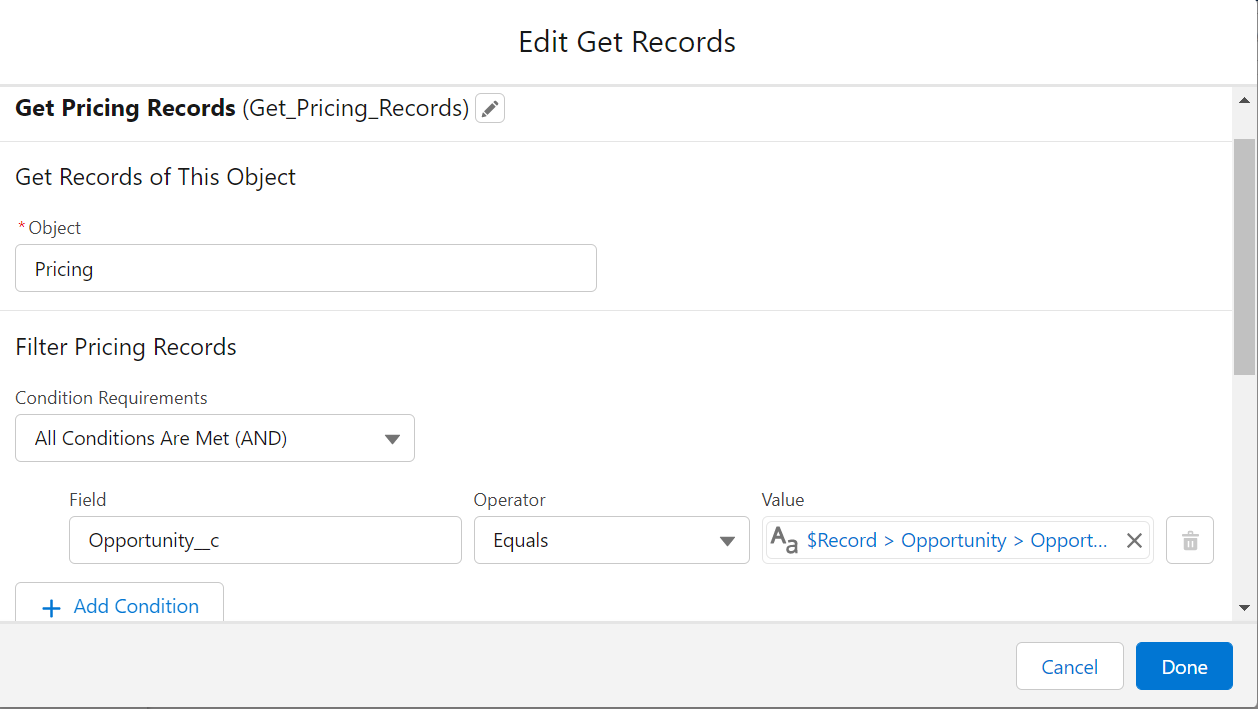
- We need to get all the child records associated with a parent record. For this purpose, we need to use the Get Records element.
- Give the Label and Name
- We need to filter the records based on the Id value present on the child record to the parent record.
- Get all the records.
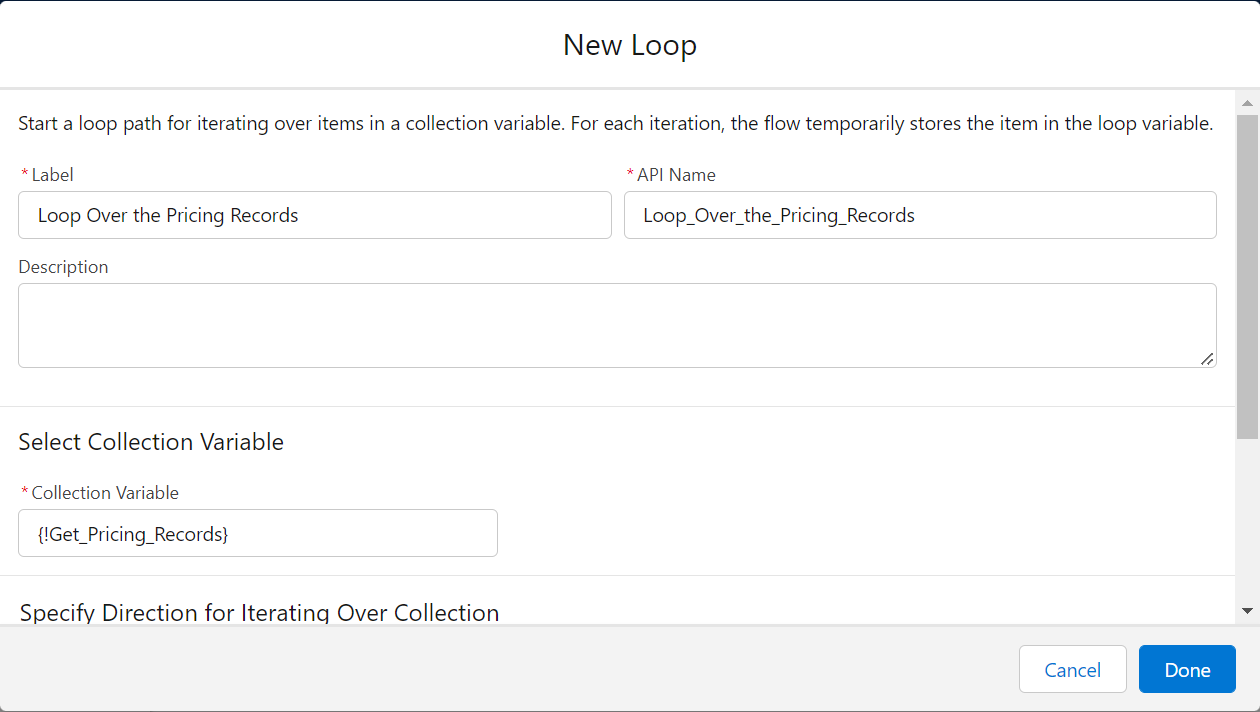
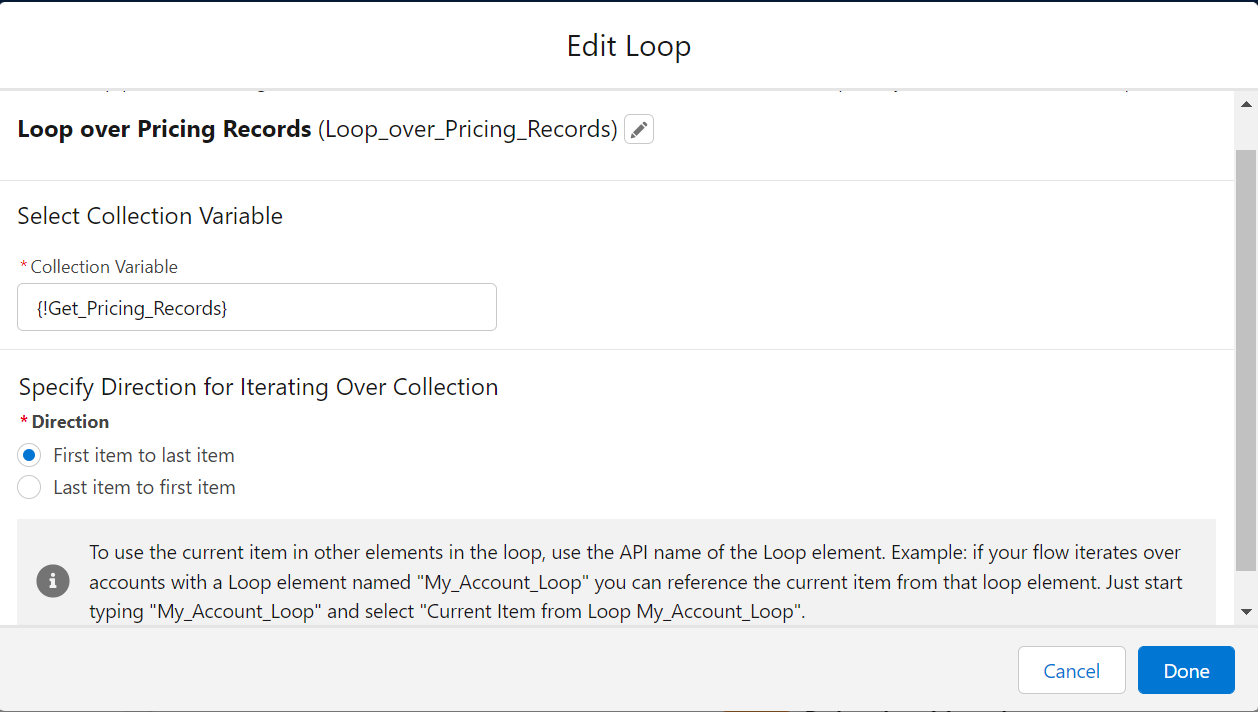
- We need to loop over the records to perform the operations we need to do:
- Use the Loop element and add the “Get Records” API name in the collection variable.
- Specify the direction from First Item to Last Item.
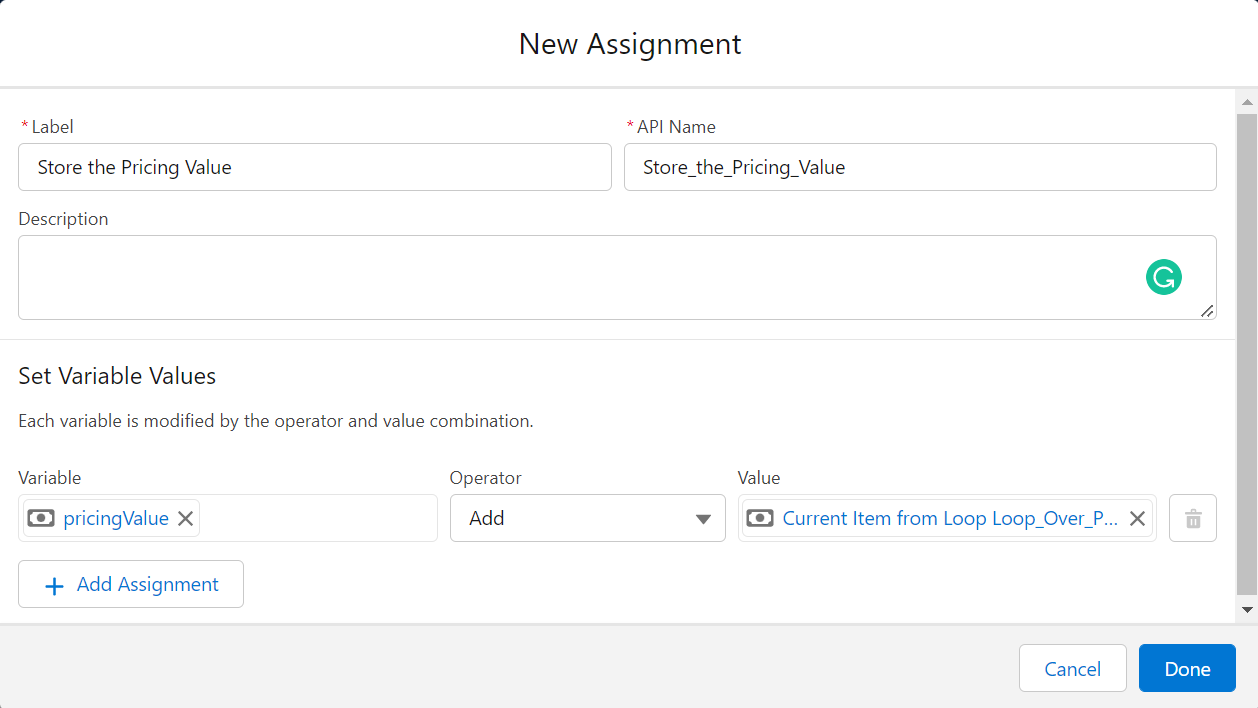
- Now create a variable that stores the value from the child’s record – this operation must be done with the Assignment element.
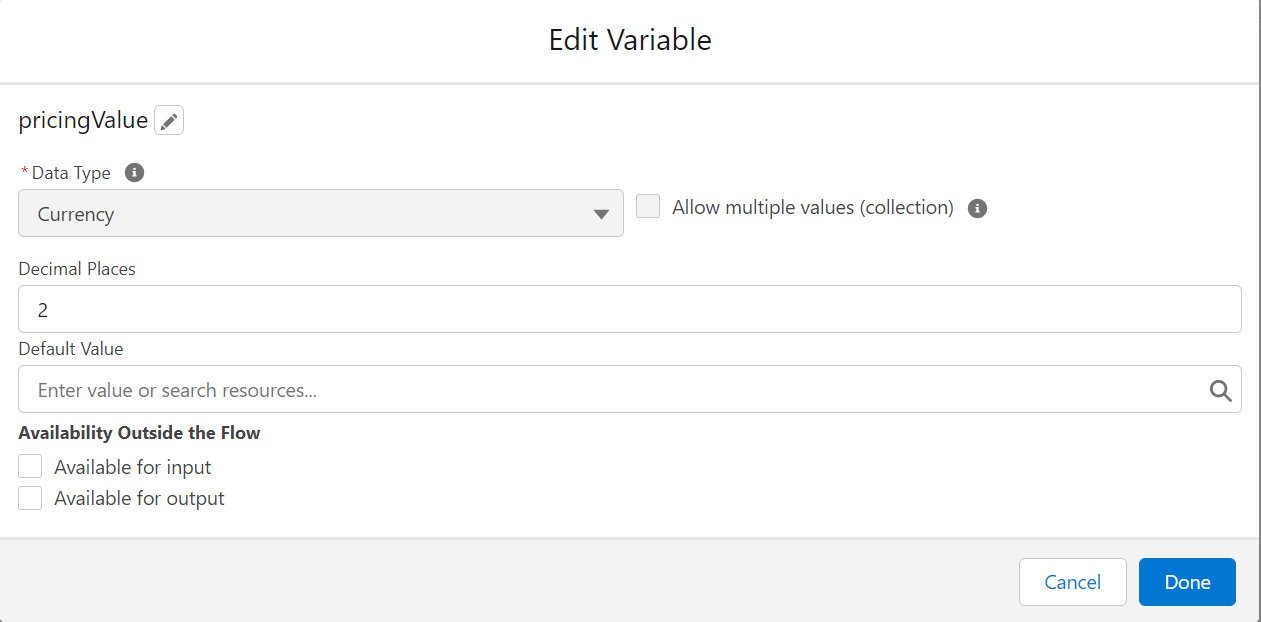
- Create a variable by clicking a new resource and selecting resource type as variable
- Give the variable an API name and currency as data type.

- As we need to get the sum of all records for the specified field, choose the operator as ADD.
- Assign the value with the field name you need to get the sum from the current loop.
- Now, here comes the final part of updating the records. After all iterations, we must update the parent object with child field values.
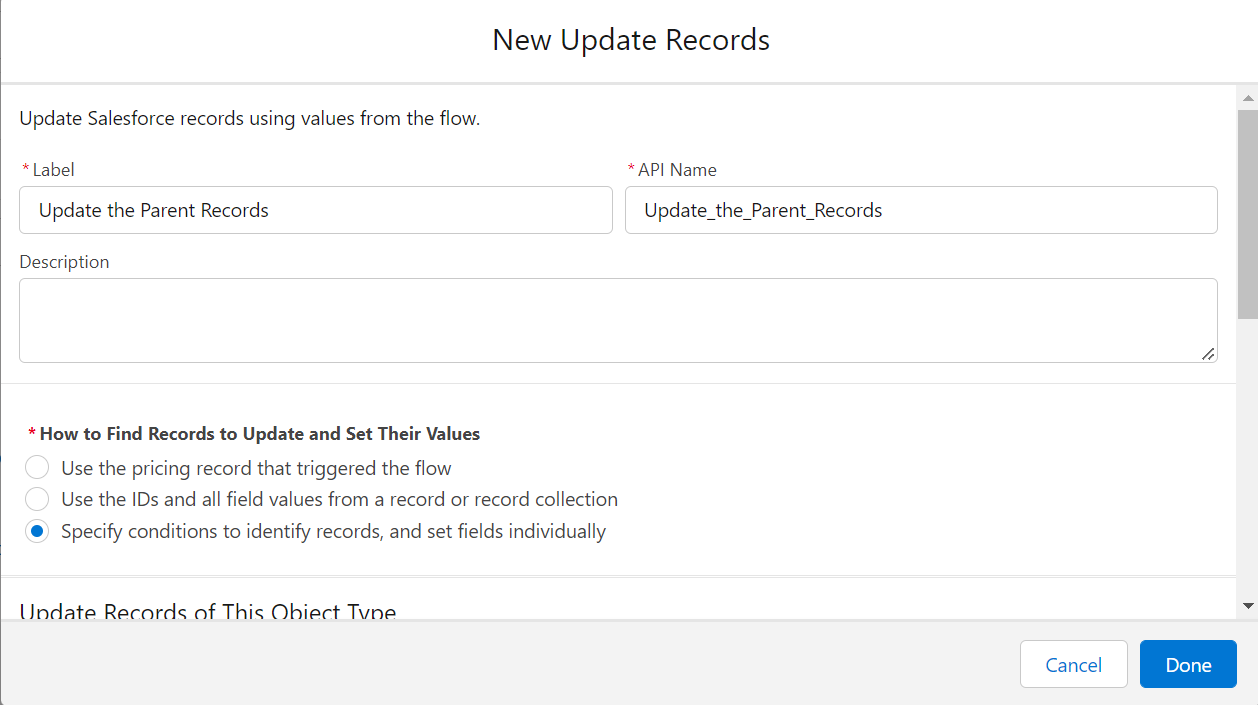
- Add an element of Update Records and label it.
- As we update parent fields, select “specify conditions to identify records and set fields individually”.
- Select the parent object and filter the records based on the parent’s record Id present in the child object to that of the child’s record.

- Choose the field name you want to update, and the value should be the variable name given in the assignment.

Creating the flow when deleting the records:
- Log in to the org and go to flows. Click on Create New Flow.
- Choose Record Triggered Flow from the “All + Templates” tab.
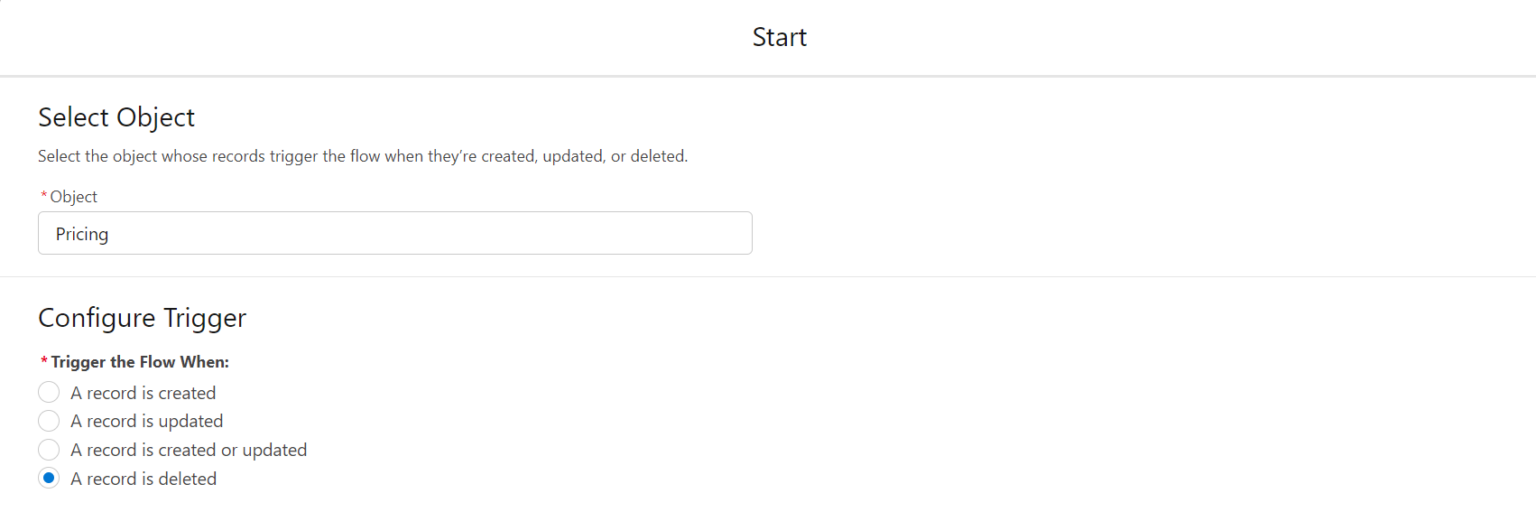
- We need to select when we want this to get triggered.
- Choose “a record is deleted” to Trigger the Flow
- Choose “Action and its related records” to optimise the Flow.
- We need to get all the child records associated with a parent record. For this purpose, we need to use the Get Records element.
- Give the Label and Name
- We need to filter the records based on the Id of the parent’s record present in the child to that of the parent Id.
- Get all the records.
- We need to loop over the records to perform the operations we need to do.
- Use the Loop element and add the “Get Records” API name in the collection variable.
- Specify the direction from First Item to Last Item.
- We can use the Before delete operation to deduct the pricing value. But what happens is the calculation will not update, and the data will be wrong.
- To avoid this issue, we need to capture the sum of all the records for the specified record. Create a variable that stores the value from the child’s record – this operation must be done with the Assignment element.
- Give the label and API name for the element.
- Create a variable by clicking a new resource and selecting resource type as variable.
- Give the variable an API name and currency as data type.
- As we need to get the sum of all records for the specified field, choose the operator as ADD.
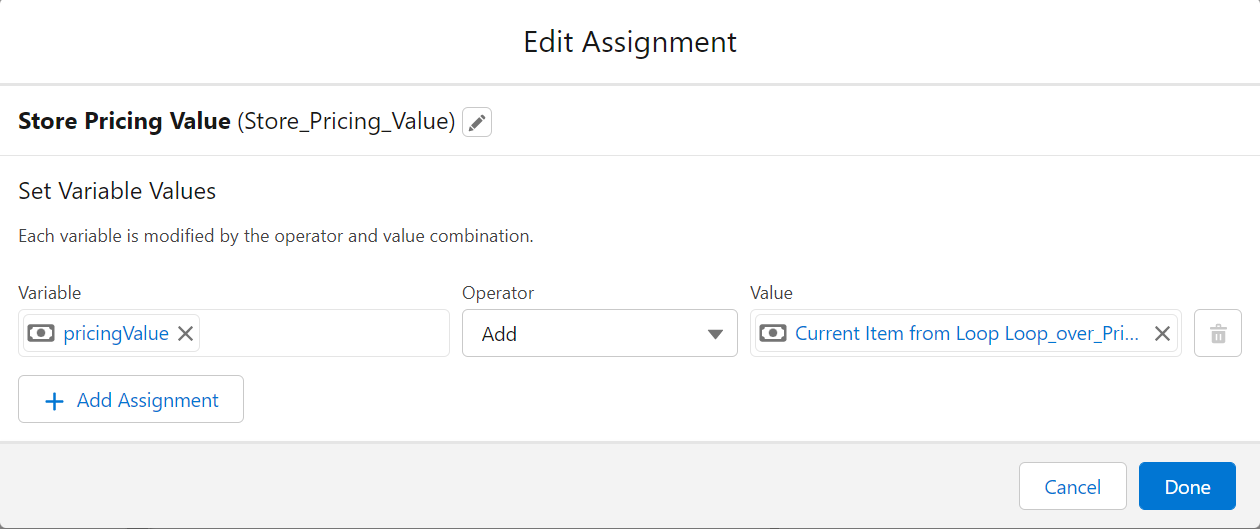
- Assign the value with the field name you need to get the sum from the current loop.
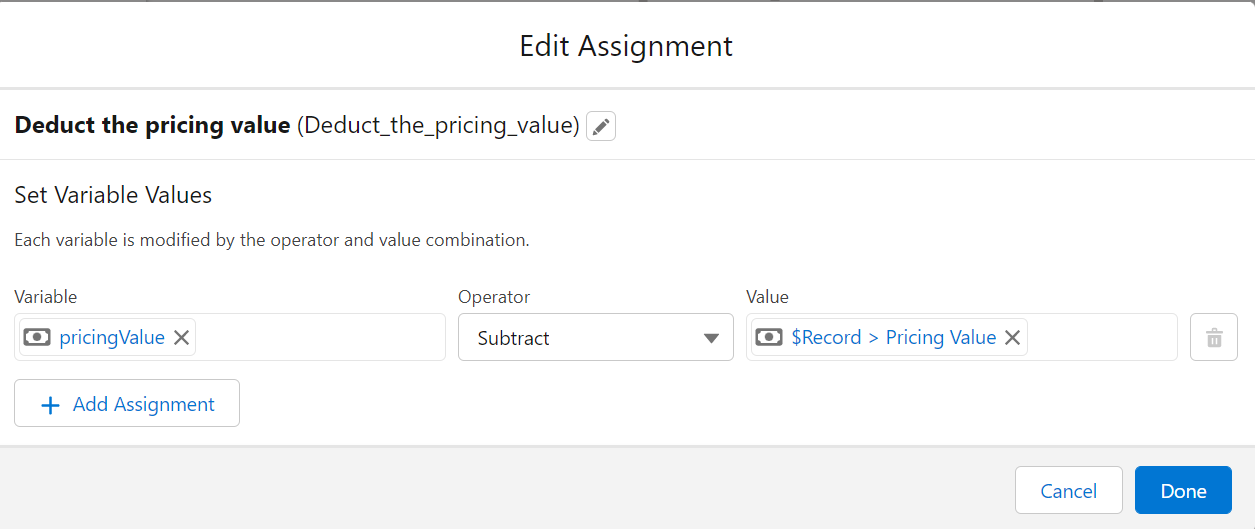
- Now that we have the sum of the records, we need to create another Assignment element that subtracts the value of the deleted record from the sum.
- Use the same variable.
- As we need to get the difference between the computed sum and the deleted record, choose the operator as SUBTRACT.
- Assign the value with the field name you need to get the difference from the current loop.
- Now here comes the final part of updating the records of the parent object with child field values.
- Add an element of Update Records and label it.
- As we update parent fields, select “Specify conditions to identify records and set fields individually”.

- Select the parent object and filter the records based on the parent’s record Id present in the child object to that of the child’s record.

- Choose the field name you want to update, and the value should be the variable name given in the assignment.

Please click on the below link to see the working in action:
Roll-up summary using flows in action