
In the Spring ‘18 release Salesforce Surveys was launched and over the years Salesforce added numerous features in design, questions, branding and distribution. Initially customers could create only one survey for free and had to purchase a license for creating more surveys. But this was not the case with people who were using Health Cloud or Financial Service Cloud, they could easily create multiple surveys. However, with Summer ‘19 release Salesforce made this feature free for everyone, but you need to assign certain profiles to users, to give them access to create unlimited surveys and send invitations to participants. The profiles which include these permissions are:
- System Administrator
- Standard User
- Marketing User &
- Contract Manager
Enough text… Let’s quickly create one.
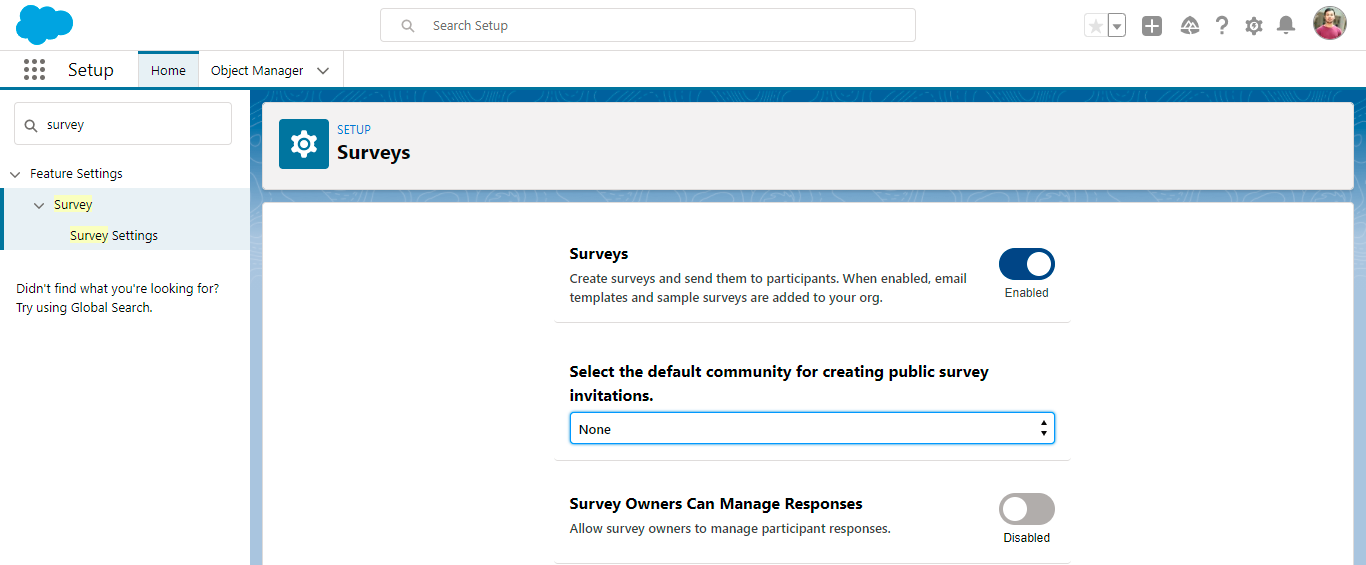
1. Login to your org as any of the above profiles and go to Setup, search for Survey Settings in the quick find box, and enable it. To generate public survey invitations please select a default community if you have any, otherwise see this article to Create an Experience Cloud Site.
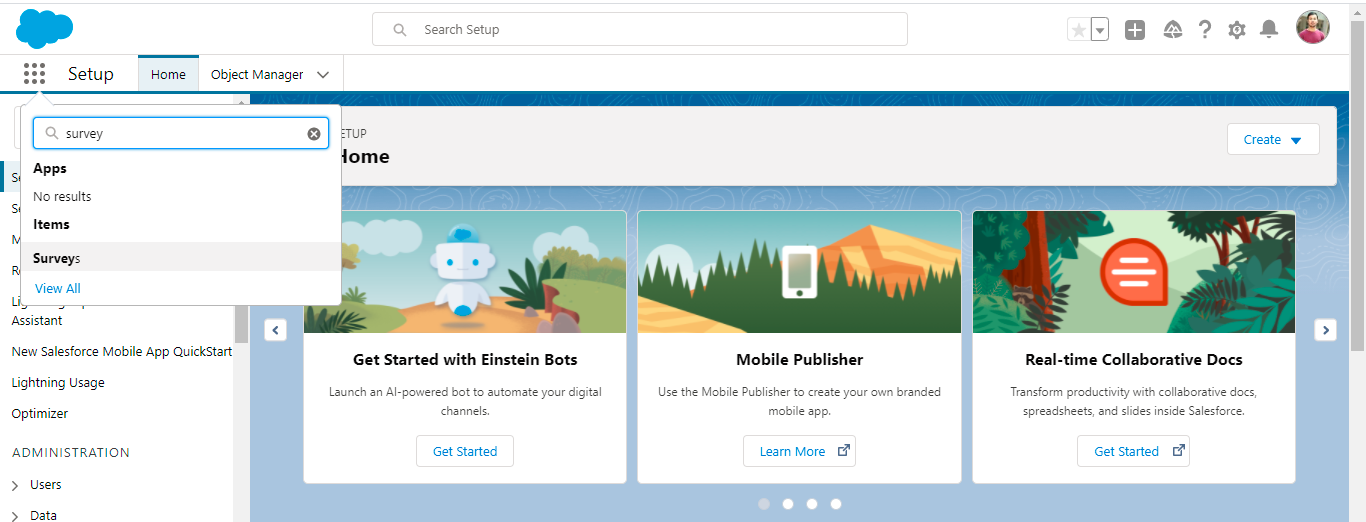
2. Effective Steps in implementing Salesforce Surveys 2. Search Surveys from the App launcher and click on it.
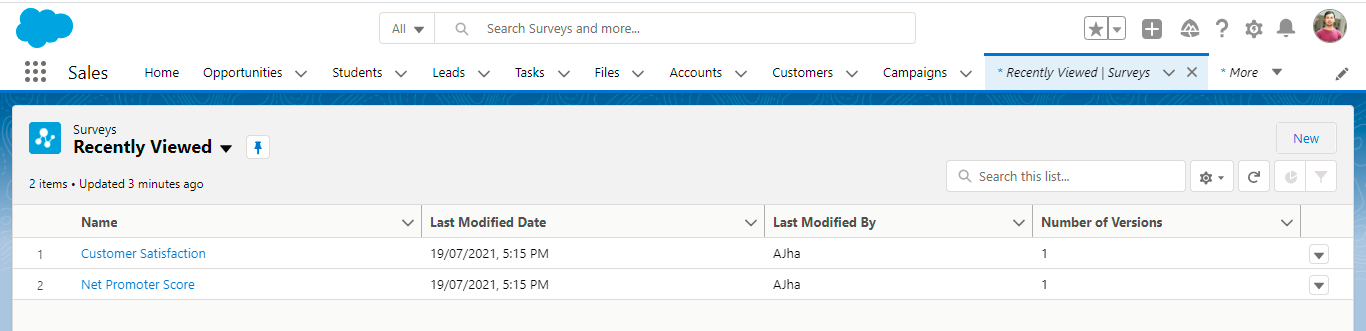
3. Click on the New button at the top right to create a new Survey.
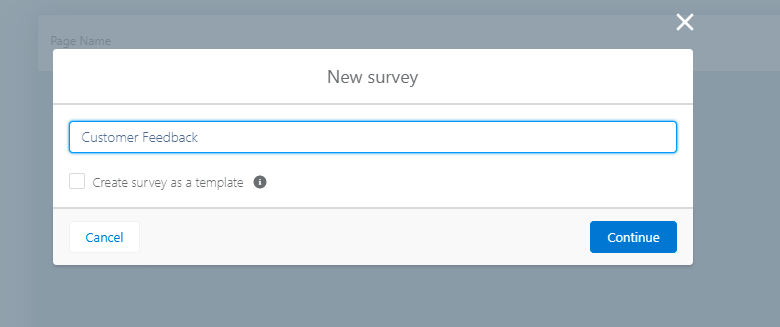
4. Enter a name, for a simple use case, let’s take it as ‘Customer Feedback’ and click on Continue.
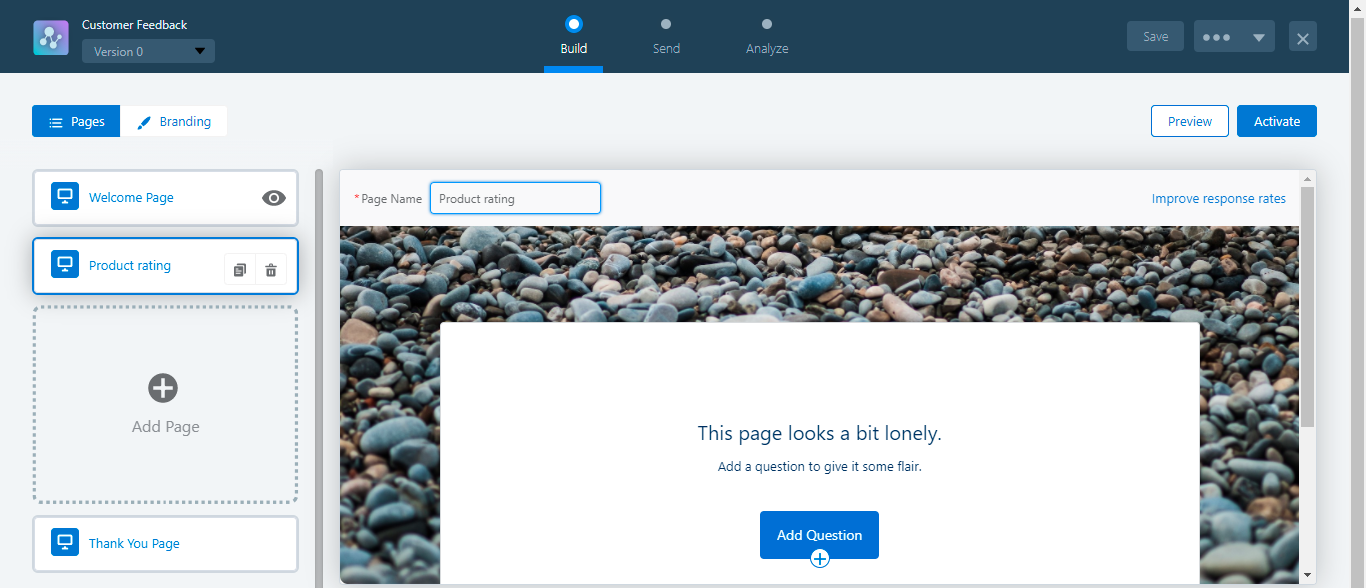
5. Now the builder page will pop up, click on the Welcome Page to write a welcome message or disable it by clicking on the eye icon next. Click on Add Page to create questions.

6. Enter Page Name from the top left of the page.
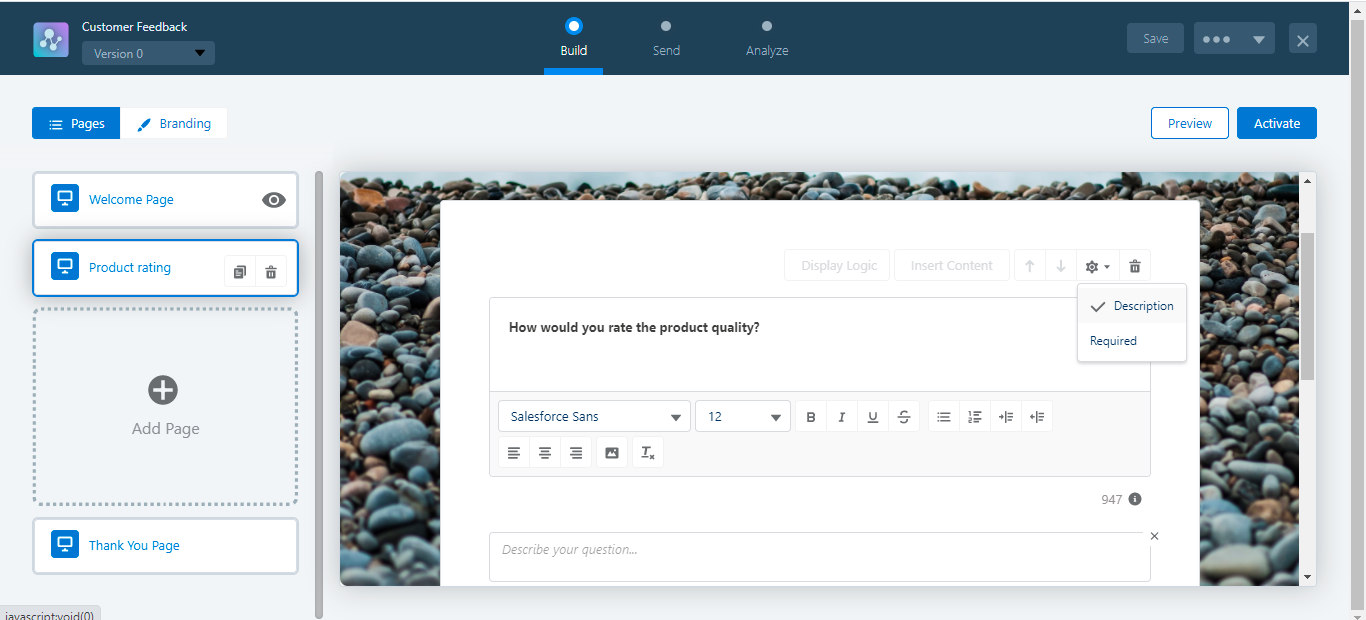
7. Click on Add Question and choose any type based on your requirement. For example, let’s take Rating and Enter a question. It is also possible to make a question required by clicking on the gear icon at the top right.
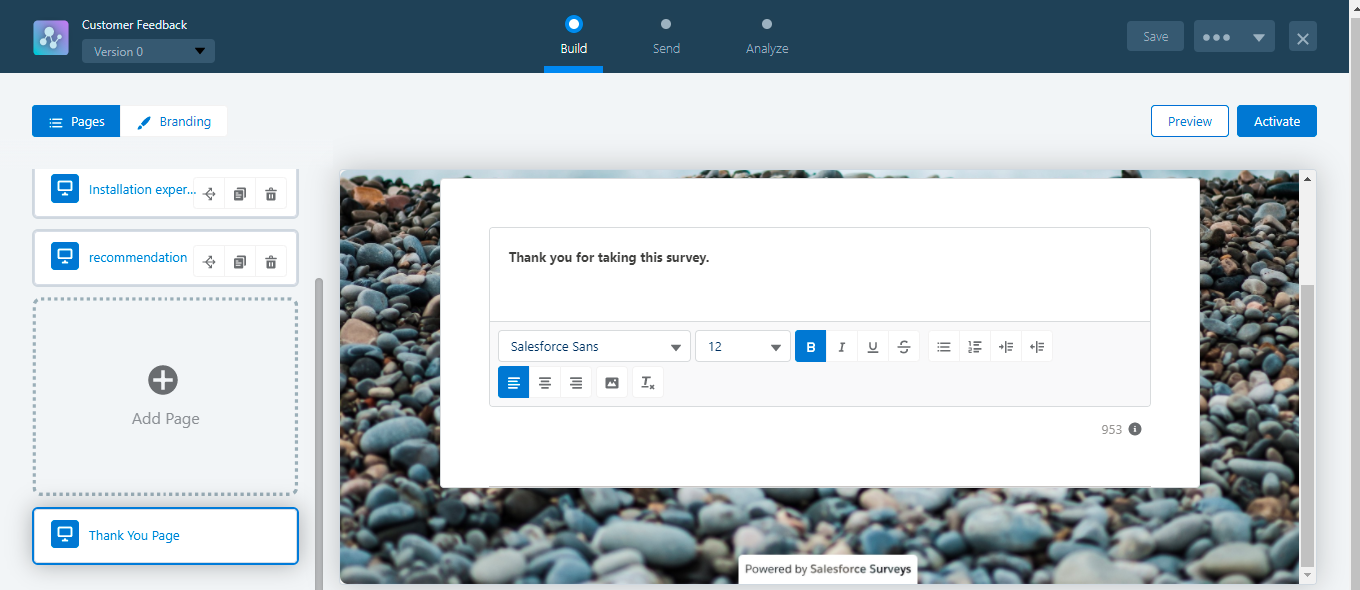
8. Similarly, create multiple questions of different types on the same page or separate pages.

9. Click on the Thank You Page and write the same.
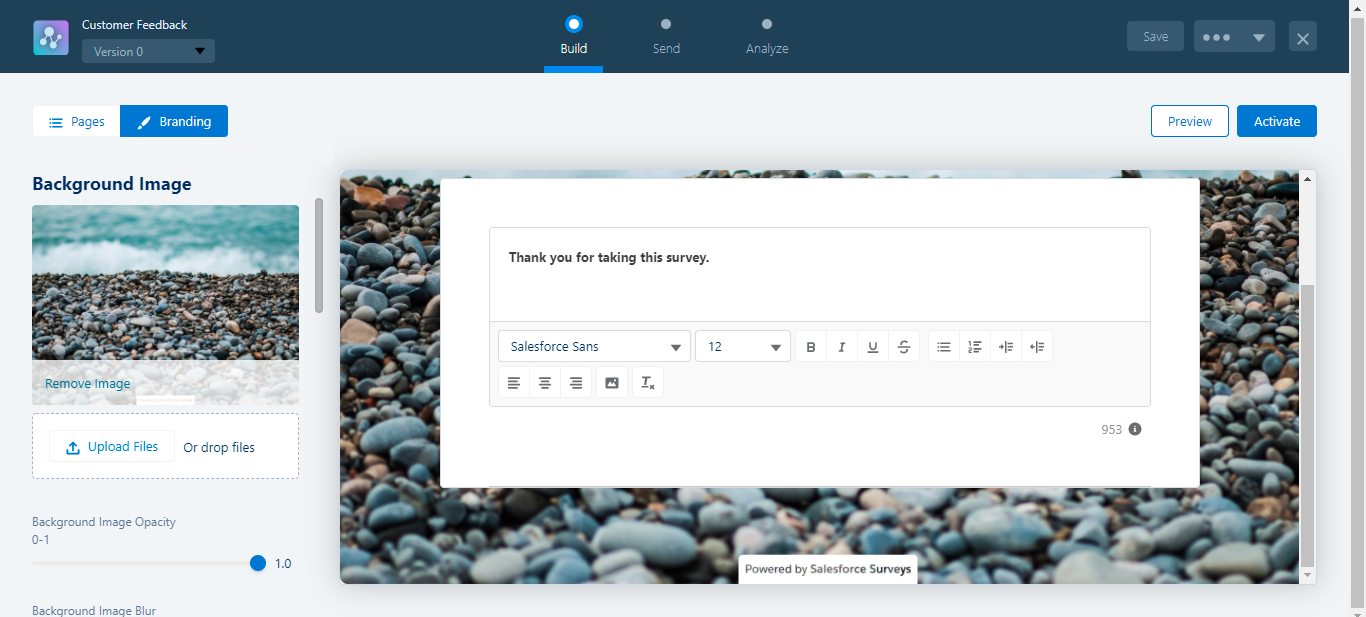
10. Can change the look and feel of the form by clicking on the Branding button next to Page at the top left, where multiple options are available.
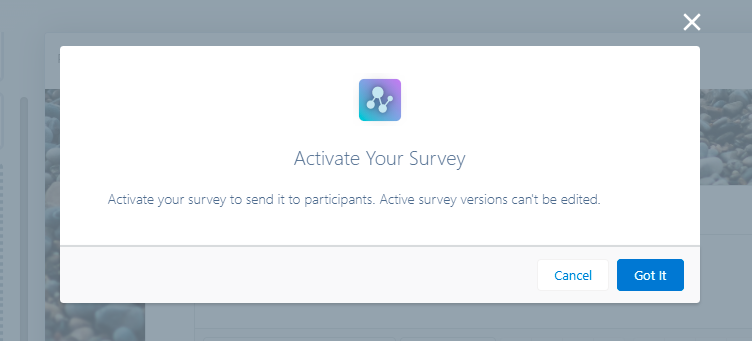
11. Click on the Activate button at the top right and again click on Got It. Once the survey is activated, it can’t be edited. However it is possible to clone the Survey record and create new versions.
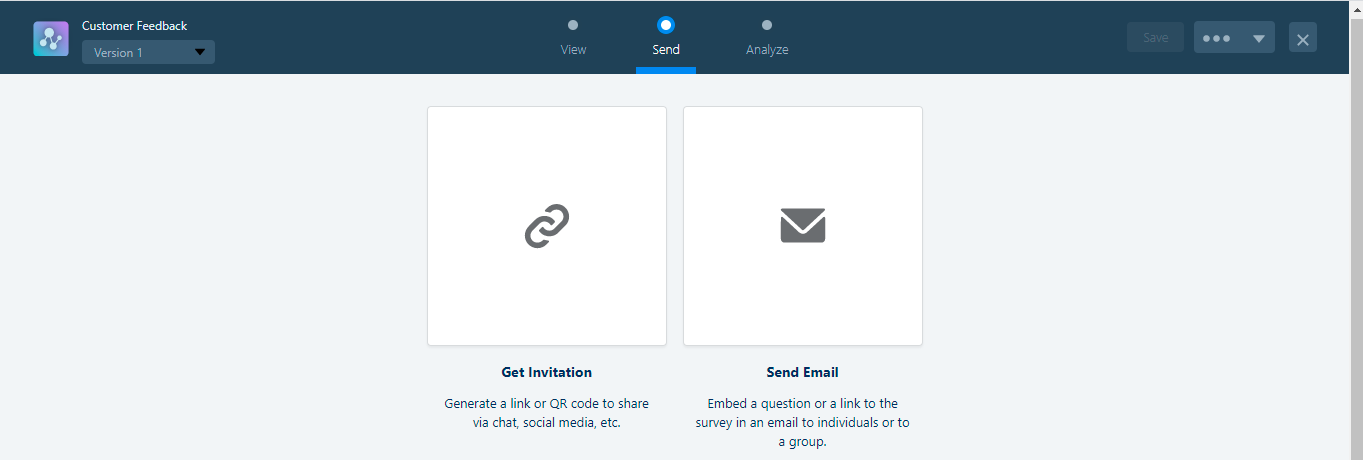
12. Click on the Send radio button on the top middle of the window, and click on Get Invitation.
13. Share this invitation with participants in your company and outside your company, but it is not possible to share this with outsiders without creating a community website. There are different options available like Auto-Expires, Anonymize-responses and Let participants see their responses based on requirement. Click on Participants in Your Company to invite internal users. guide to quickly implement salesforce surveys
14. Click on Participants Outside Your Company to generate invitations for external users. Please check on Don’t require authentication if you want your users to take this survey without logging in to the community.
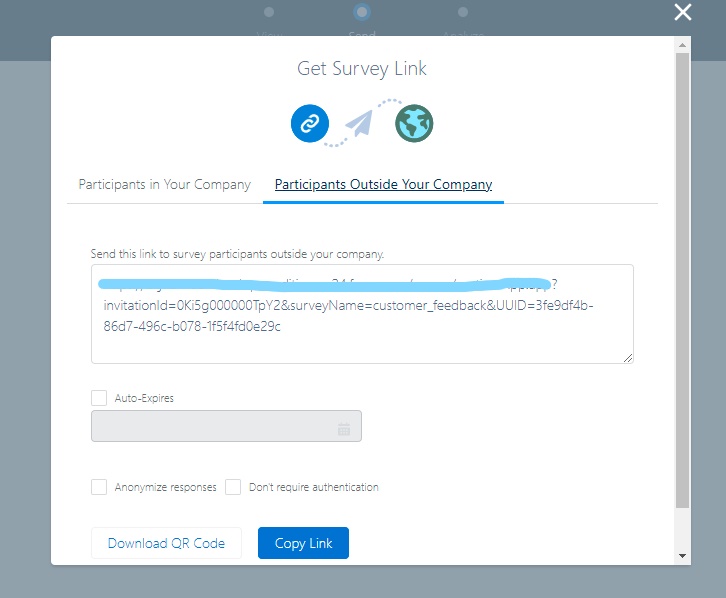
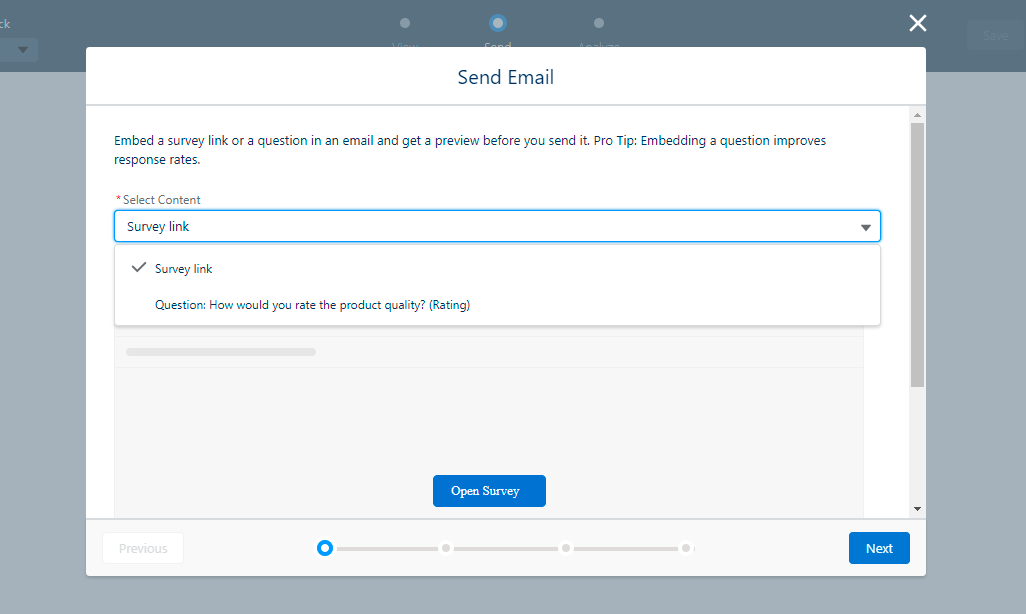
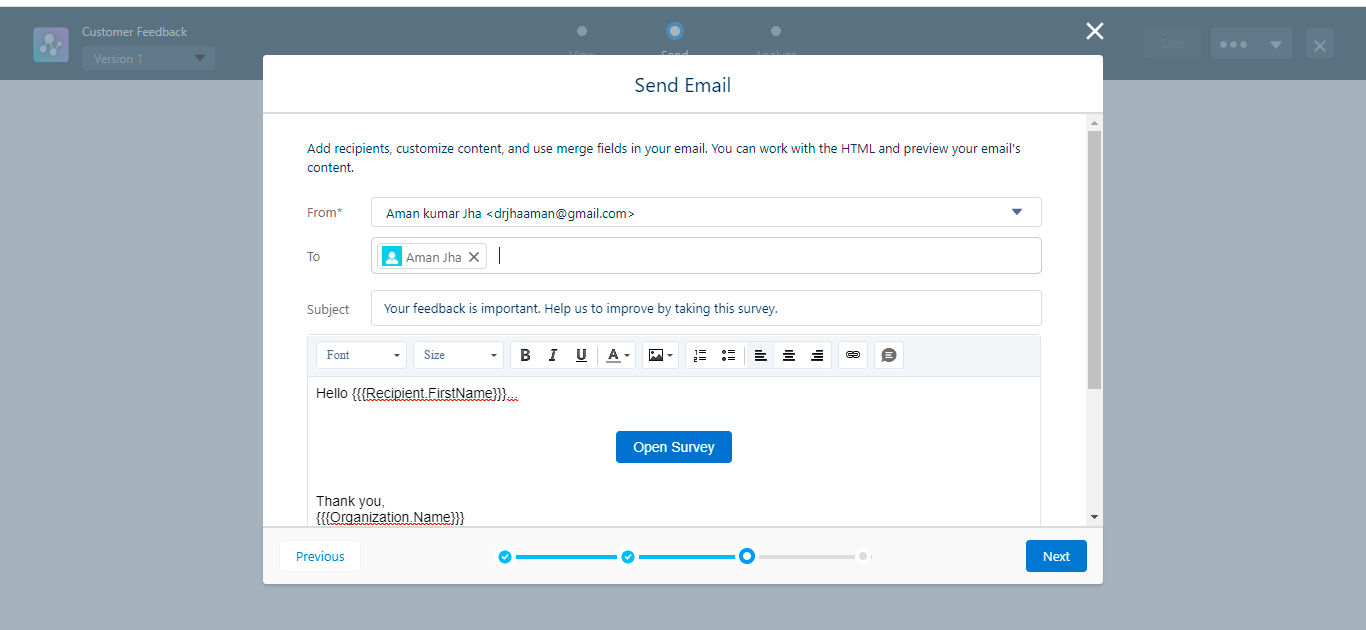
15. Click on Copy Link from any of both tabs based on requirement and close this tab. This link can be shared with participants using different automation tools like Process Builder, Flows and Trigger. However Salesforce Survey provides the functionality of sending mail from the builder page. Click on Send Email, select Survey link or any particular question from the dropdown list of Select Content and click on Next.
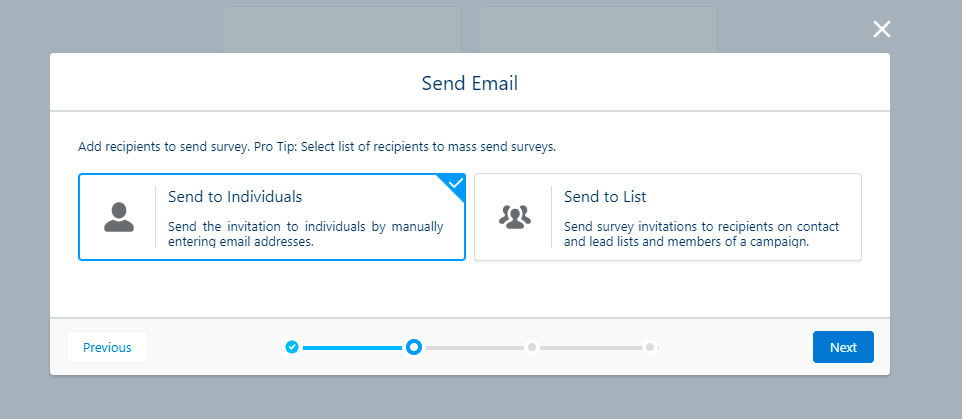
16. This link can be shared with an individual or list. Click on Send to Individuals to invite any particular user and click on Next.
17. Select any internal users from your org and edit the Subject accordingly. Now click on Next.
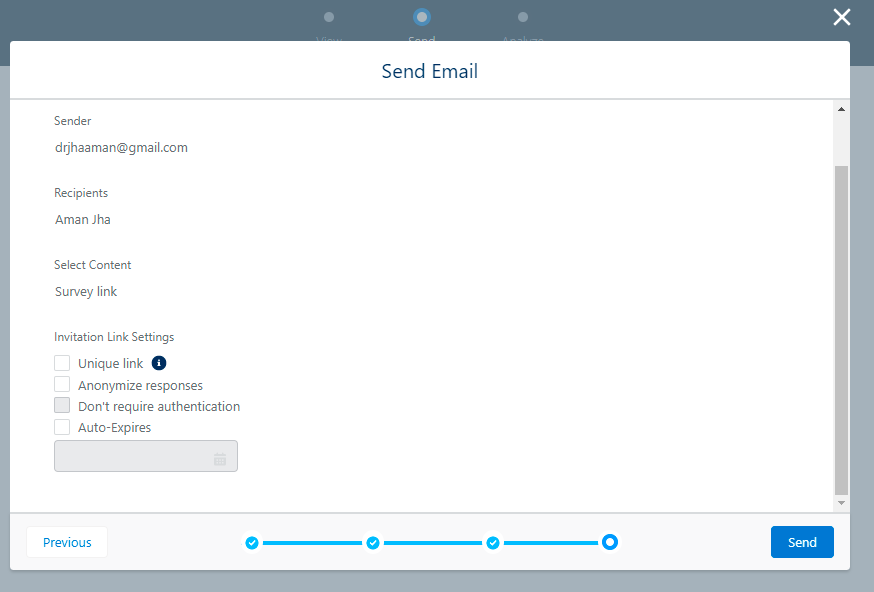
18. Multiple options are available under Invitation Link Settings and that can be used based on requirements. Now click on Send and you have successfully invited that user to take the survey.
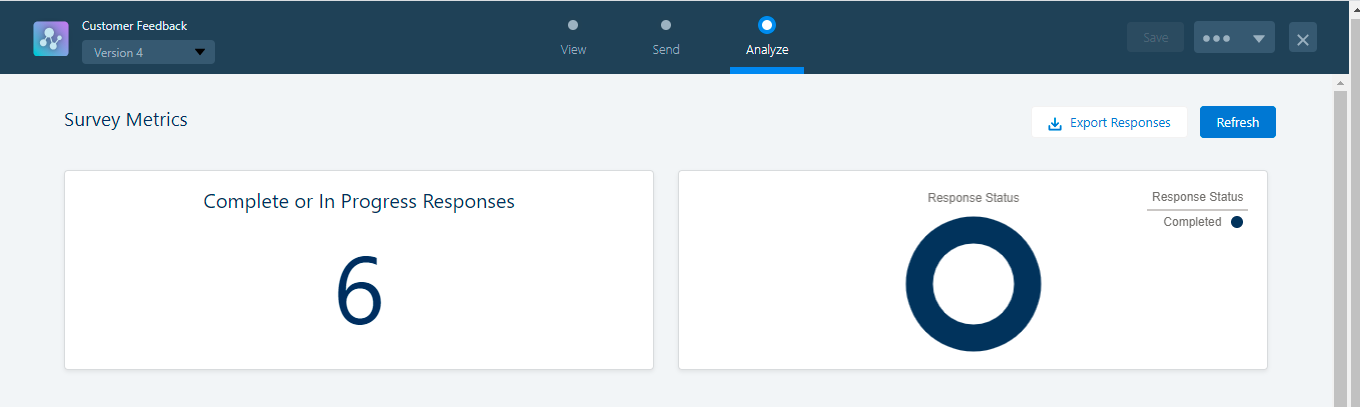
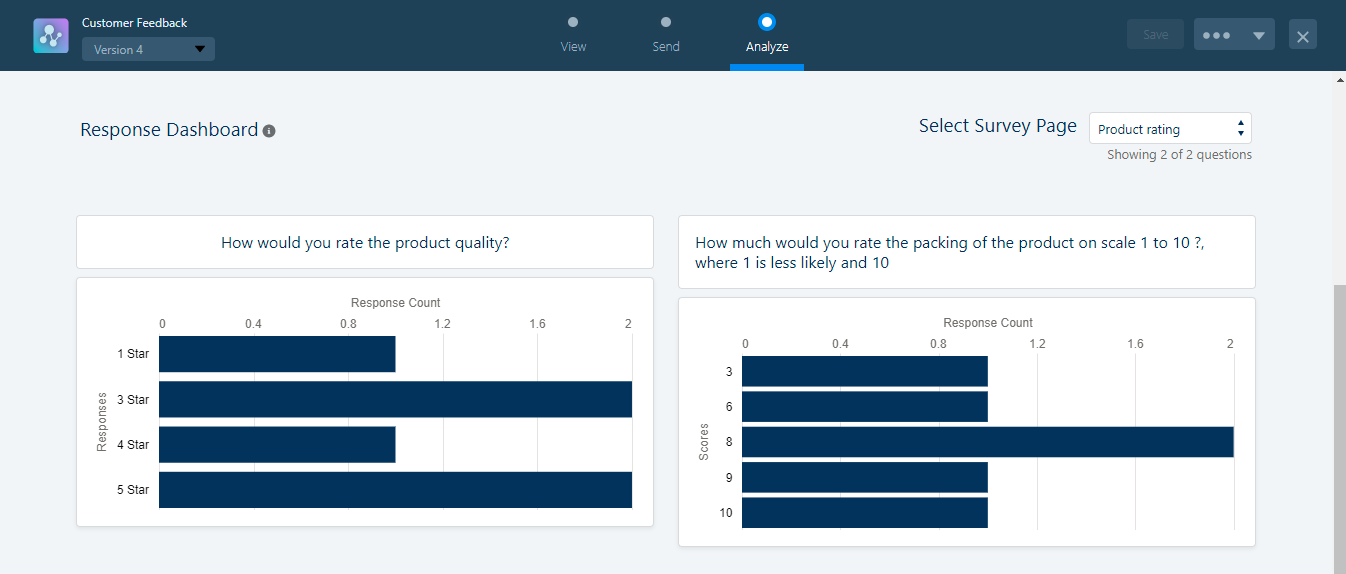
19. Once recipients will participate in this survey, responses will get stored and can be observed by clicking on the Analyze radio button. Survey Metrics and Response Dashboard are available on this page.
20. It is possible to create a Custom Report Type on Surveys objects to create customizable Reports and Dashboards.