
Apple provides different types of Frameworks such as:
1.UIKit
2.AppKit
3.WatchKit
4.MapKit
5.HealthKit etc;
Apple also has released recently the Swift UI Framework which is
supported in XCode 11.x series
What is Swift UI?
1.SwiftUI framework is used to build UI faster
2.SwiftUI provides views, controls, and layout structures for declaring your app’s user interface
3.SwiftUI views for displaying text, images, and custom shapes using stacks, lists, and more
4.Apply powerful modifiers to built-in views and your own views to customize their rendering and interactivity
5.Share code between apps on multiple platforms with views and controls that adapt to their context and presentation
6. You can integrate SwiftUI views with objects from the UIKit, AppKit, and WatchKit frameworks
7. You can also customize accessibility support in SwiftUI, and localize your app’s interface for different languages, countries, or cultural regions
8. Animations are built using simple commands that describe the action you want to see
9.SwiftUI is a lot faster in loading JSON etc
And many more….
What is UIKit?
1.UIKit is a programming framework that defines interfacing elements (such as labels, buttons, navigation Controller etc )
2.Build user interface using StoryBoards which makes it slower compared to Swift UI(as it is a declarative user interface)
How to migrate UI to Swift UI?
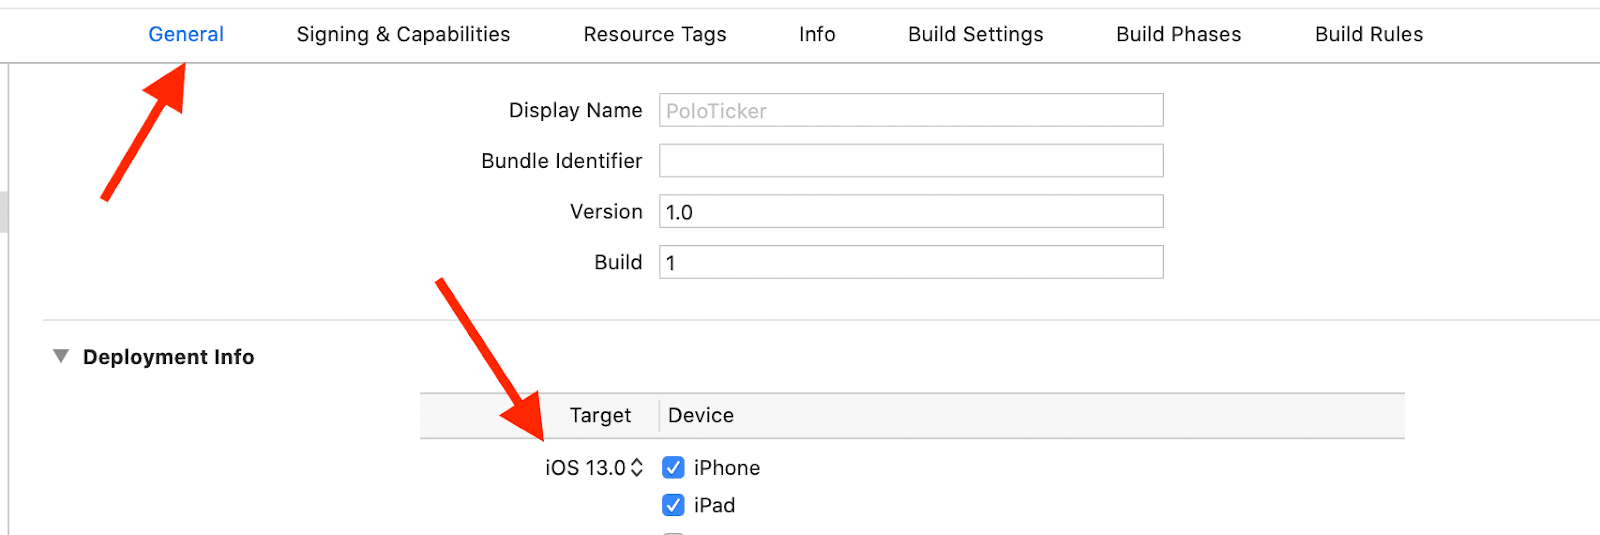
Make sure you are compatible with
1.macOS Catalina
2.xcode 11
Now open the old project and start creating empty SwiftUI file, Update Appdelegate
You need to add scene lifecycle ios13 is now focusing on
UIWindowSceneDelegate as start point(previously it was
UIApplicationDelegate)
Need to implement inside the app delegate to pass the control to
UIWindowSceneDelegate
// MARK:**UISceneSession Lifecycle**
func application(_ application: UIApplication, configurationForConnecting connectingSceneSession: UISceneSession, options: UIScene.ConnectionOptions) -> UISceneConfiguration {
        return UISceneConfiguration(name: “Default Configuration”, sessionRole: connectingSceneSession.role)
}
func application(_ application: UIApplication, didDiscardSceneSessions sceneSessions: Set<UISceneSession>) {
}
Create a MainView.swift
import SwiftUI
@available(iOS 13.0.0, *)
@available(iOS 13.0, *)
struct MainView: View {
    var body: some View {
        Text(/*@START_MENU_TOKEN@*/"Hello, World!"/*@END_MENU_TOKEN@*/)
    }
}
@available(iOS 13.0.0, *)
@available(iOS 13.0, *)
struct MainView_Previews: PreviewProvider {
    static var previews: some View {
        MainView()
    }
}
Create UIWindowSceneDelegate
Create an empty swift file called SceneDelegate.swift with the following content:
import UIKit
import SwiftUI
class SceneDelegate: UIResponder, UIWindowSceneDelegate {
    var window: UIWindow?
    func scene(_ scene: UIScene, willConnectTo session: UISceneSession, options connectionOptions: UIScene.ConnectionOptions) {
        // Use this method to optionally configure and attach the UIWindow `window` to the provided UIWindowScene `scene`.
        // If using a storyboard, the `window` property will automatically be initialized and attached to the scene.
        // This delegate does not imply the connecting scene or session are new (see `application:configurationForConnectingSceneSession` instead).
        // Use a UIHostingController as window root view controller
        let window = UIWindow(frame: UIScreen.main.bounds)
        window.rootViewController = UIHostingController(rootView: MainView())
        self.window = window
        window.makeKeyAndVisible()
    }
    func sceneDidDisconnect(_ scene: UIScene) {
        // Called as the scene is being released by the system.
        // This occurs shortly after the scene enters the background, or when its session is discarded.
        // Release any resources associated with this scene that can be re-created the next time the scene connects.
        // The scene may re-connect later, as its session was not necessarily discarded (see `application:didDiscardSceneSessions` instead).
    }
    func sceneDidBecomeActive(_ scene: UIScene) {
        // Called when the scene has moved from an inactive state to an active state.
        // Use this method to restart any tasks that were paused (or not yet started) when the scene was inactive.
    }
    func sceneWillResignActive(_ scene: UIScene) {
        // Called when the scene will move from an active state to an inactive state.
        // This may occur due to temporary interruptions (ex. an incoming phone call).
    }
    func sceneWillEnterForeground(_ scene: UIScene) {
        // Called as the scene transitions from the background to the foreground.
        // Use this method to undo the changes made on entering the background.
    }
    func sceneDidEnterBackground(_ scene: UIScene) {
        // Called as the scene transitions from the foreground to the background.
        // Use this method to save data, release shared resources, and store enough scene-specific state information
        // to restore the scene back to its current state.
    }
}

Find there the key for your Storyboard and completely remove it from your Info.plist:
<key>UIMainStoryboardFile</key>
<string>STORYBOARD_NAME</string>
Now you’ll need to add the following:
<key>UIApplicationSceneManifest</key>
<dict>
<key>UIApplicationSupportsMultipleScenes</key>
<false/>
<key>UISceneConfigurations</key>
<dict>
<key>UIWindowSceneSessionRoleApplication</key>
<array>
<dict>
<key>UILaunchStoryboardName</key>
<string>LaunchScreen</string>
<key>UISceneConfigurationName</key>
<string>Default Configuration</string>
<key>UISceneDelegateClassName</key>
<string>$(PRODUCT_MODULE_NAME).SceneDelegate</string>
</dict>
</array>
</dict>
</dict>
This code will tell your application that you now want to launch with your
scene delegate.
So now we are ready!
References:
https://developer.apple.com/documentation/